WSL2的安装和简单配置
写在前面:本教程使用的是Windows11的系统,不保证Windows10也适用。
一、为Windows启用Hyper-v虚拟化
按下win键,打开开始菜单,在搜索框中搜索
powershell并按下右键选择以管理员身份运行。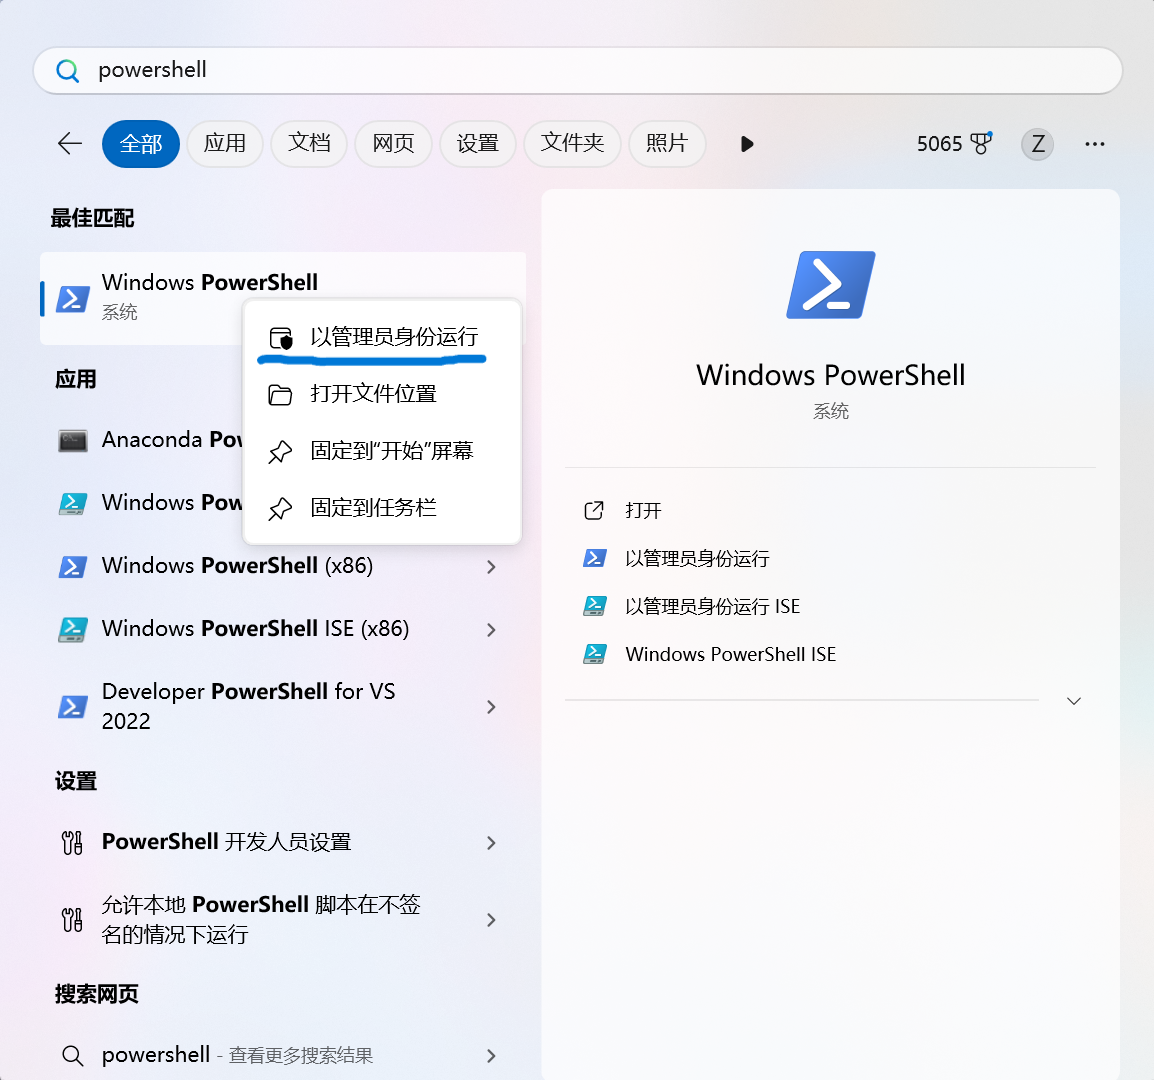
输入命令来执行虚拟化操作:
1
Enable-WindowsOptionalFeature -Online -FeatureName $("Microsoft-Windows-Subsystem-Linux","VirtualMachinePlatform")
此操作需要重启,若询问是否立即重启执行操作,输入Y并按下回车键即可。
二、设置WSL2默认版本为version2
在之前的管理员powershell界面输入wsl --set-default-version 2即可,之后可以输入wsl -v来确定版本。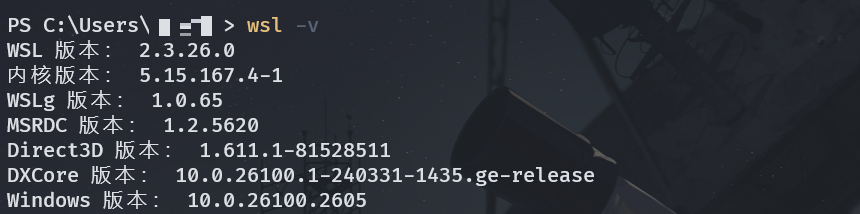
现在win11默认的wsl版本就是2,此操作也可以不做。
三、下载Linux发行版
方案一:通过Microsoft Store来进行下载
通过微软商店来下载非常简单,只需要在微软商店搜索对应的Linux发行版的名字即可进行下载。比如这里以下载ubuntu为例: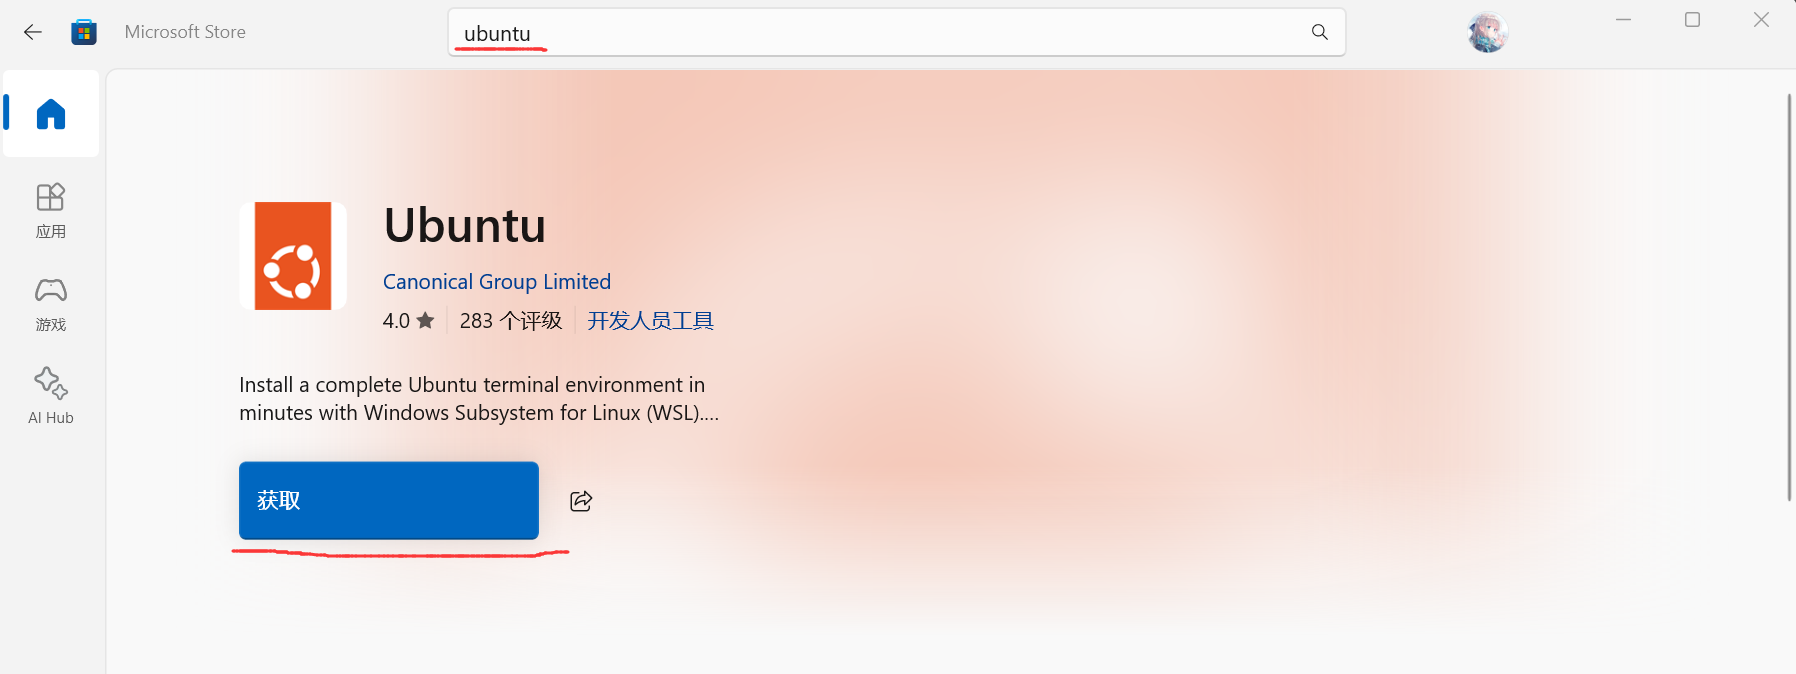
方案二:通过命令行来进行安装(推荐)
- 使用
wsl -l -o命令来查看当前可用的发行版。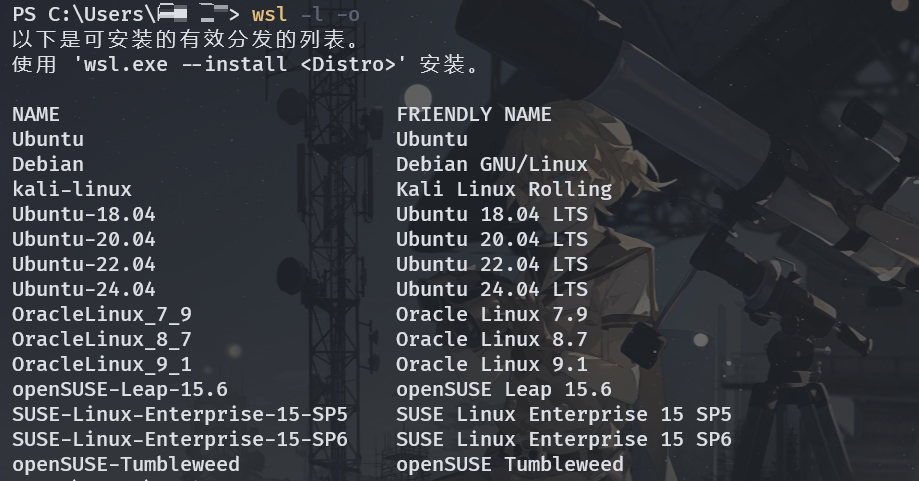
- 使用
wsl --install -d <distribution name>命令来下载指定的Linux发行版,这里的distribution name就是指上面那个操作中的第一列列出来的名称。
等待耐心下载完并弹出相应提示之后,安装过程就完成了。
1 | # 输出类似如下信息则启动成功 |
四、.wslconfig文件设置
进入
C:/Users/Username/目录,如果当前目录不存在名为.wslconfig的文件,则手动创建一个。用记事本打开
.wslconfig文件并输入以下内容:1
2
3
4
5
6[experimental]
autoMemoryReclaim=gradual
networkingMode=mirrored
dnsTunneling=true
firewall=true
autoProxy=true
这个操作之后可以使用ip addr命令查看ip地址并和在powershell中输入ipconfig后的地址进行对比,如若一样则网络模式修改成功。此外,上面的功能是Windows内部版本19041及更高版本中作为wsl2运行的发行版特有的,可以自行去看官网以了解更多功能WSL配置。
clash接管wsl2网络
让clash接管wsl的网络,需要先在clash中打开Allow LAN功能。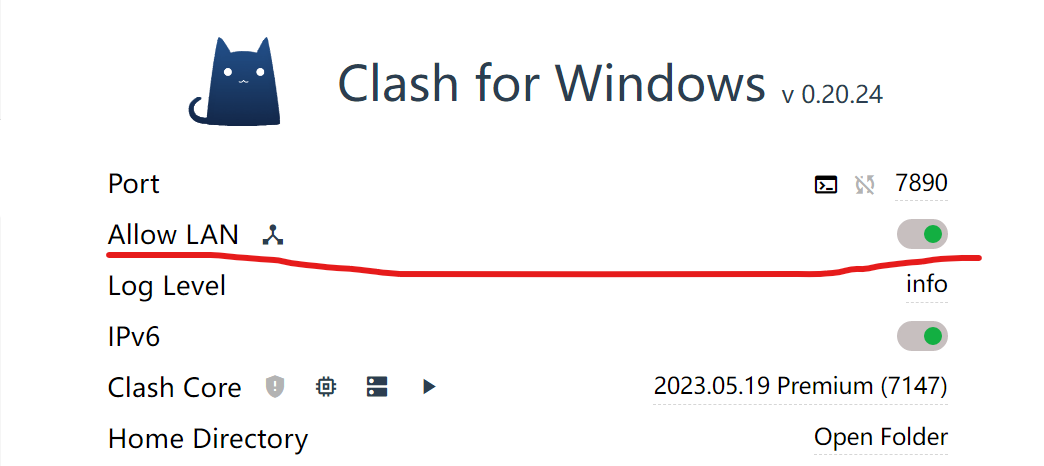
方案一(你能使用wsl2的实验性功能)
确保上述的操作无误,输入wget www.google.com来确认clash确实已经接管了wsl的网络(此操作需要在Linux的不需要root写权限的目录下进行)。
1 | > wget www.google.com |
方案二(你不能使用wsl2的实验性功能)
这里借鉴了某大神的方案,若你的wsl版本或者windows版本不能使用上面的配置,将.wslconfig中的内容改为
1 | [wsl2] |
之后编辑Linux根目录下的.bashrc文件,加入以下三行内容
1 | host_ip=$(cat /etc/resolv.conf |grep "nameserver" |cut -f 2 -d " ") |
这里的端口就是clash的port,如上面我的截图中clash的端口是7890(一般默认就是7890)。完成后输入source ~/.bashrc来让配置生效,可以输入echo $http_proxy来验证是否成功。
五、更换软件源
根据你使用的Linux发行版直接上网搜索相应的镜像源即可,这里给出一个汇总链接镜像源。复制相应的镜像源后,直接进行修改即可。这里以debian12更换清华源为例。
访问debian清华镜像源(网址中的debian可换成你的Linux发行版)并复制软件源。
1
2
3
4
5
6
7
8
9
10
11
12
13# 默认注释了源码镜像以提高 apt update 速度,如有需要可自行取消注释
deb https://mirrors.tuna.tsinghua.edu.cn/debian/ bookworm main contrib non-free non-free-firmware
# deb-src https://mirrors.tuna.tsinghua.edu.cn/debian/ bookworm main contrib non-free non-free-firmware
deb https://mirrors.tuna.tsinghua.edu.cn/debian/ bookworm-updates main contrib non-free non-free-firmware
# deb-src https://mirrors.tuna.tsinghua.edu.cn/debian/ bookworm-updates main contrib non-free non-free-firmware
deb https://mirrors.tuna.tsinghua.edu.cn/debian/ bookworm-backports main contrib non-free non-free-firmware
# deb-src https://mirrors.tuna.tsinghua.edu.cn/debian/ bookworm-backports main contrib non-free non-free-firmware
# 以下安全更新软件源包含了官方源与镜像站配置,如有需要可自行修改注释切换
deb https://security.debian.org/debian-security bookworm-security main contrib non-free non-free-firmware
# deb-src https://security.debian.org/debian-security bookworm-security main contrib non-free non-free-firmware备份文件并修改文件
1
2
3
4
5# 备份源文件
sudo mv /etc/apt/sources.list /etc/apt/sources.list.backup
# 修改文件
sudo touch /etc/apt/sources.list
sudo vi /etc/apt/sources.list # 将复制内容粘贴进去相信vim操作就不用教了吧,这里也可以使用你更熟悉的编辑器进行修改。
最后输入sudo apt update和sudo apt upgrade命令即可验证软件源是否修改成功。


去听サイエンス谢谢喵ヾ(=`ω´=)ノ”